 My custom Piantor keyboard
Overview
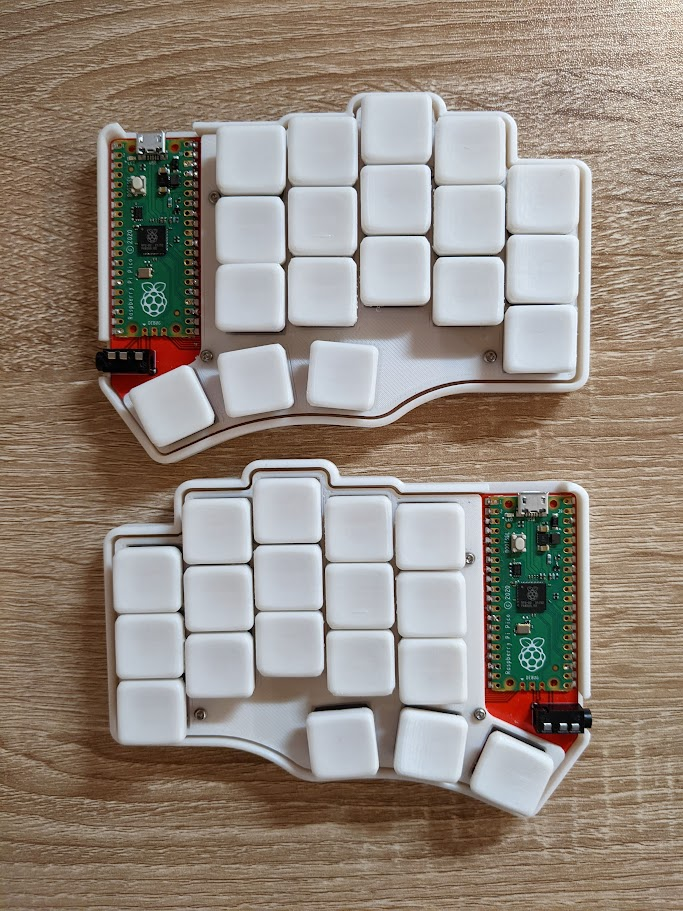
The Piantor is a 36 or 42 key mechanical keyboard using the RP2040 microcontroller based on the Cantor layout. I already had a ZSA Moonlander, but decided to build a new keyboard the following reasons.
- 36 keys. I was only using 36 keys on the Moonlander, making the extra space unnecessary.
- Pinky stagger. The Piantor has a more drastic column stagger compared to other keyboards, making keys easier to press.
- Low profile. A smaller and flatter keyboard would be easier to carry for work and travel.
- Hot swappable switches. I was expecting to mess up, and this would allow me to reusing the switches without desoldering.
- Easy build. Diodeless, hotswappable sockets, and the option to directly solder the microcontroller to the PCB makes it much easier to build.
I highly recommend the Piantor keyboard, although, I don’t recommend the process I went through for building mine.
Sourcing
Components were all independently sourced instead of being bought from a kit. The total cost was ~ $250 including the soldering equipment. With the correct tools and components, you could probably build the Piantor for < $100.
I made a mistake during the build process, either bought incompatible microcontrollers or was missing resisters. The safest and fastest option was to restart the build but with official Rasberry Pi Picos, resulting in a second set of components being purchased.
I already had a TRRS cable which is why it is not in this list. I ended up preferring Kailh Red over Red Pro key switches due to the higher force.
Initial Components
| Source | Part | Cost |
|---|---|---|
| Etsy | Piantor PCB | 20.00 |
| Etsy | Tax & Shipping | 6.14 |
| Chosfox | Hot Swap Socket | 7.25 |
| Chosfox | Kailh Low Profile Red | 24.00 |
| Chosfox | Tax & Shipping | 5.00 |
| Aliexpress | RP2040 Microcontroller | 7.25 |
| Aliexpress | TRRS Jack | 4.40 |
| Aliexpress | M2 Brass Insert | 1.20 |
| Aliexpress | M2 Screws | 1.07 |
Additional Components
| Source | Part | Cost |
|---|---|---|
| Etsy | Piantor PCB | 20.00 |
| Etsy | Tax & Shipping | 6.14 |
| Amazon | Rasberry Pi Pico RP2040 | 12.50 |
| Amazon | Mico USB Cable | 8.99 |
| Amazon | Bumpons | 4.49 |
| Chosfox | Hot Swap Socket | 7.25 |
| Chosfox | Kailh Low Profile Red Pro | 22.00 |
| Chosfox | Tax & Shipping | 5.00 |
Soldering
| Source | Part | Cost |
|---|---|---|
| Amazon | Pinecil | 39.99 |
| Amazon | Solder Wick | 3.99 |
| Amazon | Tweezers | 5.49 |
| Amazon | Lead Free Solder | 7.99 |
| Amazon | Flux Pen | 8.99 |
| Amazon | Scotch Tape | 3.49 |
| Amazon | Multimeter | 15.99 |
Links
3d Printing
Key Caps
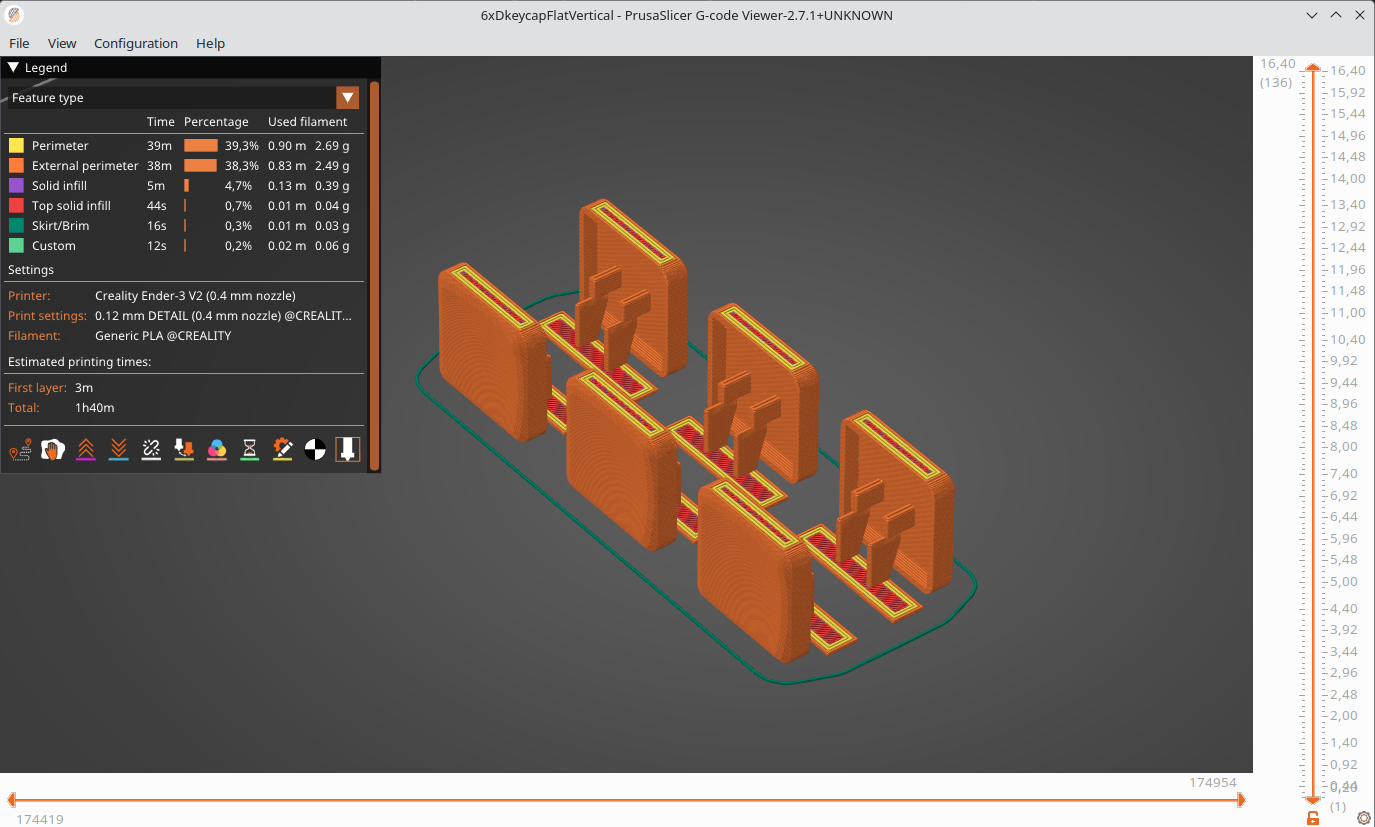
To save on cost, I 3d printed the key caps on my Ender3V2. Key caps should be printed vertically to for strength; the stem can get stuck in the key switch. Layer lines aren’t noticeable on the surface finish; however, printing defects, such as stringing, leave very noticeable bumps.
When printing multiple keys (I did 6 keys at a time), position the keys facing outwards. This ensures stringing would be on the sides or stems instead of typing surface. I used 0.16 mm resolution, but I don’t really think it matters.
 3d printing keycaps orientation
Case
The case provided on the Piantor GitHub is fine. There is also a 36 key version on Printables. The screws thread directly into the plastic and no heat set inserts are necessary.
Links
- Kailh Low Profile Key Caps Improved Supports
- Kailh Low Profile Key Caps (Includes Tactile)
- Piantor 36 Key Case
Soldering
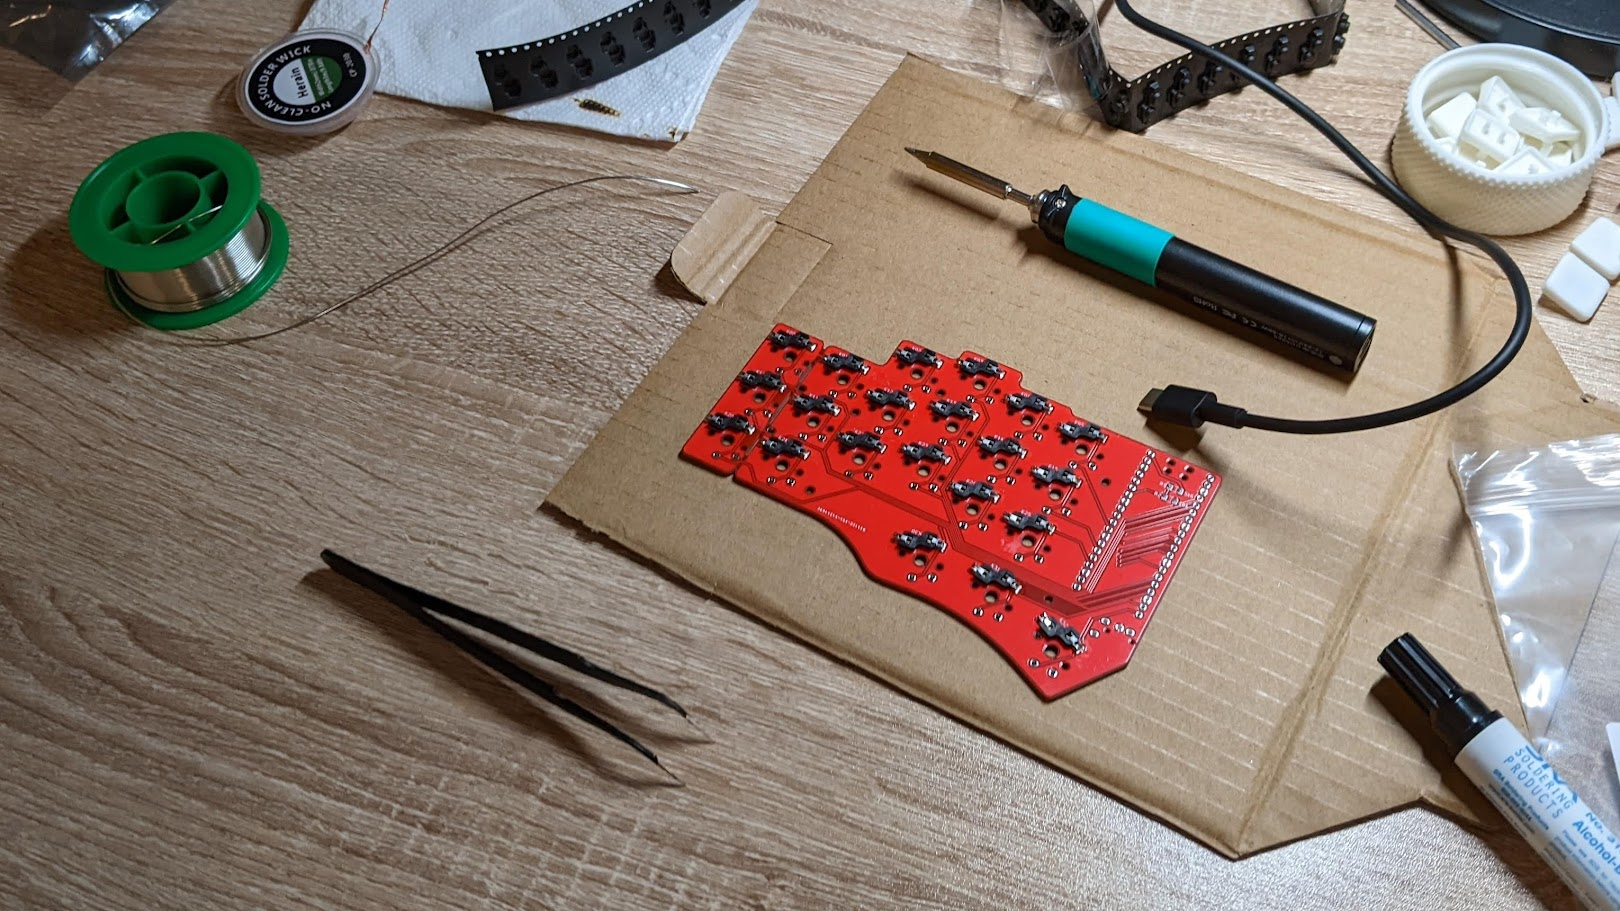
I completed the soldering with a Pinecil on a USB C laptop charger. Using lead free solder may have been a mistake due to the higher melting temperature. I found it difficult to get solder to melt on ground connections, even when using the max temperature.
Pliers are essential, not just for holding small components, but also for shorting keys when testing. If a key is acting unusual, open the PCB in KiCad and try shorting corresponding pads or pins.
 Soldering hotswap sockets to PCB
Firmware
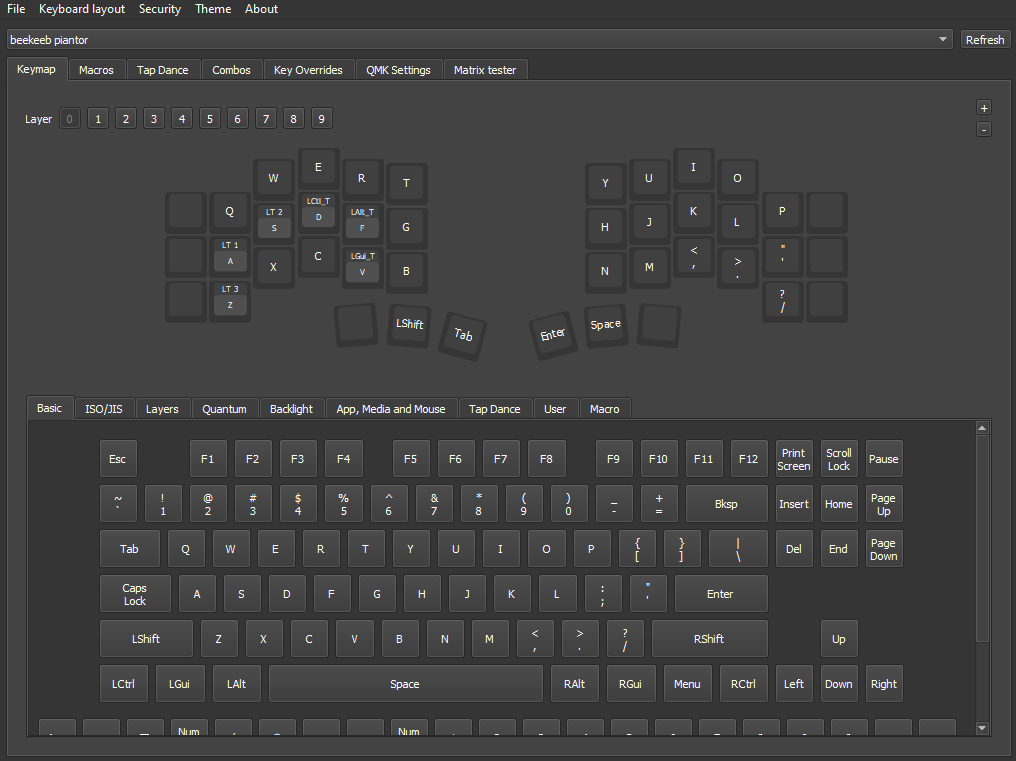
The default firmware provided by Beekeeb for the Piantor was Vial, a QMK fork which allows you to update the firmware live. Real time firmware changes is such an amazing feature that I don’t think I can go back to normal QMK. I recreated my Moonlander layout and everything works as expected.
 Configuring layout in Vial